Mobile app installation
Feel free to install and use the money saving app. You can download it from the Apple Store or Google Play.We appreciate any comments and suggestions that you send us through the app regarding the functioning of the savings program.

Mobile app registration
After downloading the F4F mobile money management app from the Google store, a registration window will appear, in which you must enter your first name, last name, e-mail address (to which a message with a link activating your account will be sent) and password. If you decide not to register right away, you can use the limited-functionality version of the account and register later.
After filling out the registration window, information that the operation is correct and an important email with an activation link will be sent.
Confirmation of activation is the final step in the registration process.
Why do I need a money-saving app in the mobile version?
We’ve all come to the conclusion at some point that managing the household budget is beyond us. The reason being that we don’t know how to save, we’re constantly short on cash, and we don’t know how much we really have. Are we spending too much? Or maybe we have a surplus? How can we manage our money with the greatest benefit for us?
In that scenario, we wish that the problems would be solved on their own. Unfortunately, no one will wave a magic wand and make them go away, but we can make use of tools that will help us manage our finances. That is exactly what the money-saving app geared for.
It is a straightforward and functional program for saving and daily management of household expenses. Thanks to reports, we can make various statements – broken down into categories, subcategories or accounts.
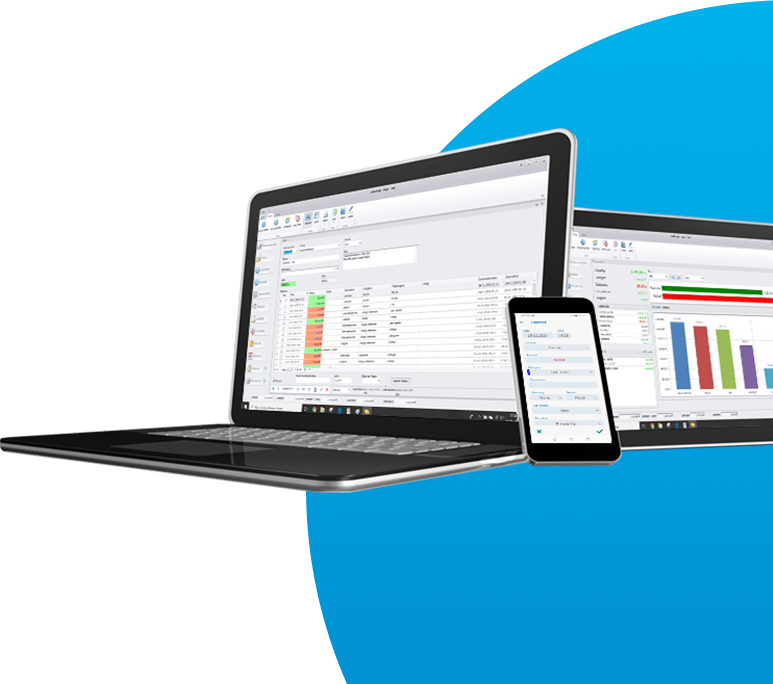
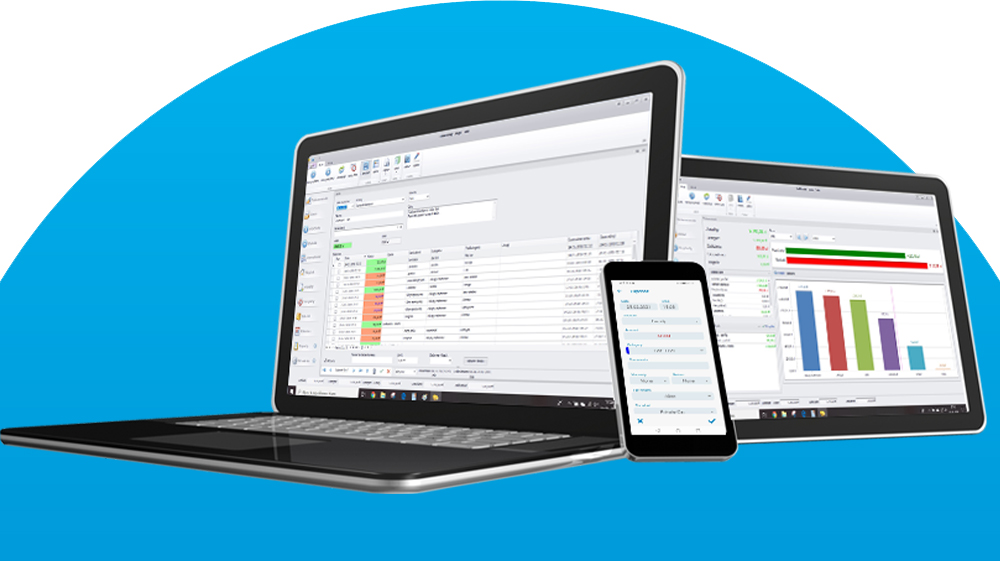
The mobile application is supported by the desktop version, which offers many more possibilities, and a simple synchronization will allow you to transfer your daily records from your smartphone to your computer.
How to start using the mobile app?
To start using the app effectively, follow these three simple steps.
1) Define your accounts.
App menu ![]() → Accounts → Add account
→ Accounts → Add account
Fill in the fields and save ![]()

2) Enter amounts to the accounts, creating income.
In the Operations tab click ![]() → fill in the individual fields and click Save
→ fill in the individual fields and click Save ![]()

3) Write down your expenses.
In the Operations tab click ![]() → fill in the individual fields and click Save
→ fill in the individual fields and click Save ![]()

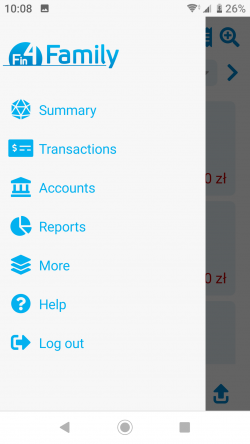
Menu – mobile app
By selecting particular elements in the app menu ![]() ,
,
we can add dictionary items (More): accounts, categories, subcategories or markers before entering expenses. We recommend it, as it will save time. To save the expense, all you have to do is select the appropriate data from the list. Of course, nothing prevents you from doing it as you go along – writing down expenses / income. By using the Reports feature, you can compile statements of your operations and carry out analyses based on them.
With the Help option, you can get information about the application. You will be redirected to a simple user manual (Documentation).
How to add expenses?
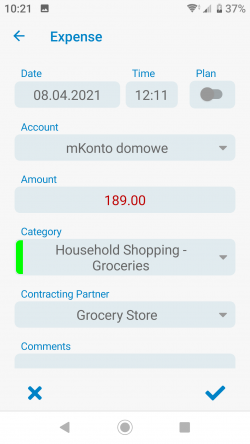
To add a new expense, select ![]() in the Operations tab. Then fill in the individual fields and confirm
in the Operations tab. Then fill in the individual fields and confirm ![]() .
.
By entering an expense, you can add an account, category, subcategory or contractor to the list or do it earlier by selecting the More tab in the Menu.
How to add income?

Tap ![]() in the Operations tab, fil in the individual fields and confirm
in the Operations tab, fil in the individual fields and confirm![]() .
.
How to carry out transactions?
Click ![]() in the Operations tab, fill in the individual fields and confirm
in the Operations tab, fill in the individual fields and confirm ![]() .
.
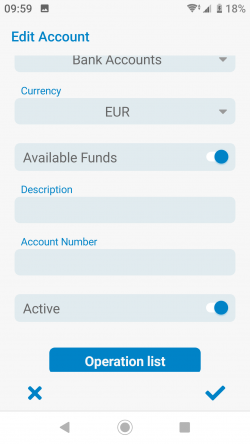
How to add account?
From the app menu ![]() select Accounts and tap Add account.
select Accounts and tap Add account.
Fill in the individual fields and confirm ![]() .
.
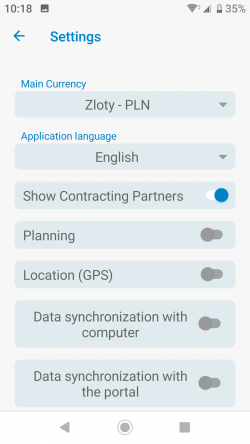
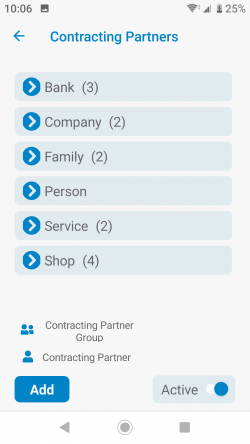
How to add a contractor?
Menu ![]() →More → Settings → Mark Show contractors.
→More → Settings → Mark Show contractors.
Return (←) to menu and select again More → Contractors.
Add → Contracting Partner
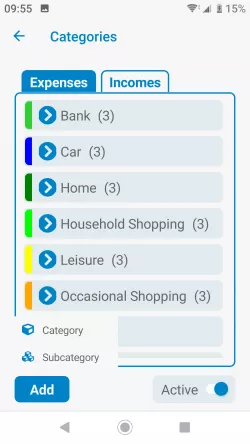
How to add a category?
Menu![]() → More → Categories → Add → Category
→ More → Categories → Add → Category
Select the name, choose the category Type and color, then save ![]() .
.
All dictionary items (categories, subcategories, accounts, markers) can also be added when entering an expense in the Operations tab.

How to add a subcategory?
Menu ![]() → More → Categories → Add → Subcategory.
→ More → Categories → Add → Subcategory.
Enter the name and select the appropriate Category, then save ![]()
Reports
Reports are a list of selected financial operations over time, depending on various additional parameters of your interest. All Reports are created in the same way. Configuration examples can be found in the article: Report – how to configure?
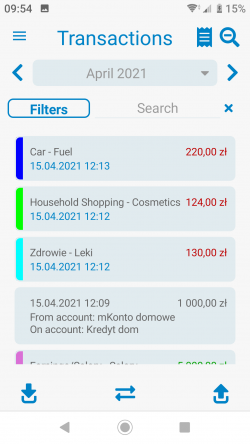
Operations list
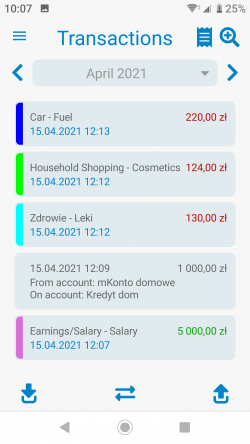
In this window, we see all our financial operations, such as:
Expenses ![]()
Income ![]()
Transactions ![]()
If there are many operations, we don’t want this list to drag on.
We can use the Filter or change the list view
My accounts
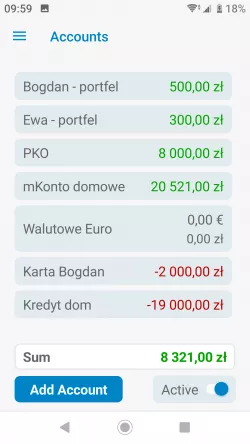
Here we have information about our accounts (name, balance). Also, we can add a new account by selecting Add account
By clicking on a specific account, we can see the list of operations on that account.